Eevee Fix Contact Shadow Problems- Top Tips and Tricks
Are you tired of your Eevee renders looking flat and lacking depth? Do the contact shadows in your scenes never seem right? Many 3D artists need help to create accurate lighting and shadows in Eevee renders.
Eevee, the real-time rendering engine in Blender, offers fast and efficient rendering for creating stunning visuals. However, it can be challenging to master its settings and understand the intricacies of achieving accurate contact shadows.
With proper knowledge, Eevee renders can appear realistic and leave much to be desired.
Accurate contact shadows add depth and realism to your Eevee renders. To elevate your rendering game and overcome these shadow problems, addressing the common mistakes that artists make is essential.
This article will guide you through fixing contact shadow problems in your Eevee renders, allowing you to create visually stunning and believable 3D artwork.
What are Contact Shadow Problems?
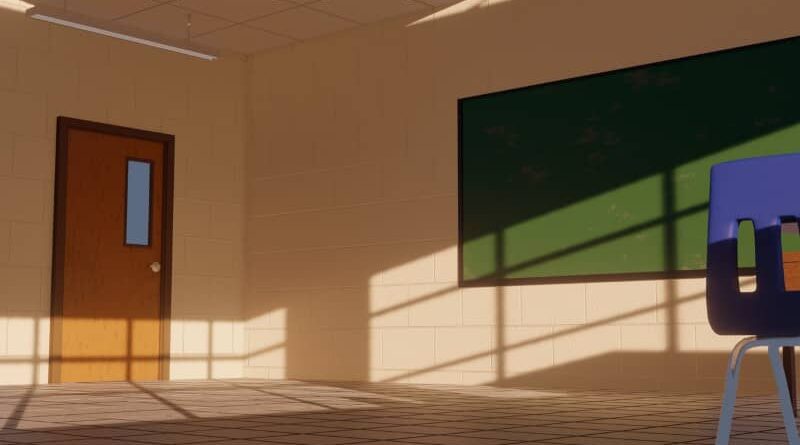
Contact shadows occur when two surfaces come into direct contact, causing a dark area to form where they meet. While this phenomenon is natural in the physical world, it can lead to inaccuracies and artefacts in 3D renders. These issues are particularly evident in real-time rendering engines like Eevee.
The Impact on Realism
Realism is the cornerstone of impressive 3D renders. Unfortunately, contact shadow problems can disrupt the harmony between objects, making them appear disconnected from their environment. This lack of cohesion diminishes the overall realism of the scene.
Identifying Contact Shadow Problems
Recognizing the presence of contact shadow issues is the first step towards rectifying them. Careful analysis of your renders and using shadow passes can help pinpoint problem areas.
Common Contact Shadow Issues
Incorrect Shadow Placement
In some cases, you might notice that the shadows in your Eevee render are placed incorrectly. This can make your scene look realistic and clear. The problem often stems from the interaction between the light source, the object casting the shadow, and the receiving surface.
Flickering Shadows in Animation
Animating a scene in Eevee with contact shadows can sometimes result in flickering shadows. This issue can be incredibly frustrating, as it undermines the quality of your animation. Flickering shadows often occur due to inconsistencies in shadow calculations across frames.
Factors Influencing Contact Shadows
Light Source Positioning
The position of your light source plays a significant role in the appearance of contact shadows. Improper positioning can lead to unrealistic shadows or even cause them to disappear altogether.
Object Proximity and Geometry
The distance between objects and their geometry can impact the quality of contact shadows. Objects that are too close or have complex geometry may exhibit shadow anomalies.
Material Properties
The materials applied to your objects can affect how shadows interact with them. Some materials might absorb shadows, while others could reflect or refract them.
Shadow Bias
Shadow bias settings control the offset of shadow calculations, and incorrect values can lead to various shadow-related artifacts.
Detailed Solutions
| Solution | Description |
| Adjust Light Sources | Properly position and adjust light sources in your scene to minimize contact shadow issues. |
| Shadow Bias Settings | Tweak the shadow bias settings in the Eevee render settings to alleviate contact shadow problems. |
| Material Properties | Adjust material properties to optimize the way surfaces interact with light and shadows. |
| Soften Contact Edges | Apply a slight blur or softening to the edges of objects to reduce harsh contact shadows. |
| Ray Tracing | Consider using ray tracing techniques in Eevee to enhance shadow accuracy and realism. |
| Render Resolution | Increase the render resolution to reduce the visibility of jagged or problematic contact shadows. |
| Light Bounce | Adjust the number of light bounces to control how shadows interact and reduce artifacts. |
| Contact Reflections | Fine-tune reflection settings to prevent unwanted contact shadow artifacts in reflective surfaces. |
| Geometry Adjustment | Modify the geometry of objects to eliminate intersecting surfaces causing contact shadow issues. |
| Shadow Catcher | Utilize a shadow catcher material to composite objects seamlessly onto background images. |
Adjusting Shadow Bias Settings
Fine-tuning shadow bias values can significantly impact the quality of contact shadows. Experiment with different settings until you achieve the desired result.
Utilizing Soft Shadows
Enabling soft shadows can help mitigate jagged and broken shadow appearances. Soft shadows create a smoother transition between lit and shadowed areas.
Tweaking Light Source Parameters
Adjusting the light source’s size, intensity, and angle can yield more realistic and visually pleasing contact shadows.
Applying Shadow Catcher Materials
Applying shadow catcher materials to specific objects can facilitate seamless blending with the background for scenes involving compositing or integration.
Optimizing Performance for Better Shadows
To ensure optimal performance while maintaining high-quality shadows, consider the following optimization strategies listed in the video below.
For more tips, read below.
Simplifying Geometry
Reducing the complexity of your scene’s geometry can lead to faster shadow calculations and smoother performance.
Using Simplified Materials
Utilize simplified materials that maintain the visual essence of your objects while reducing the computational load on shadow rendering.
Render Layer Management
Divide your scene into render layers and prioritize shadow quality for essential elements, allowing you to allocate resources more efficiently.
Advanced Techniques for Complex Scenes
Adjusting bias and bleed bias are fundamental techniques to alleviate contact shadow problems. These settings influence how shadows are calculated and can significantly impact the final result.
Light Source Placement and Angle
Proper placement and angle of light sources are pivotal in mitigating Eevee rendering problems. Strategic positioning can help prevent the occurrence of unrealistic shadows.
Exploring Screen Space Reflections (SSR)
SSR can complement contact shadows by adding realistic reflections, creating a more immersive and believable environment.
Depth Pass and Shadow Catchers
Integrating depth passes and shadow catchers in your workflow can provide greater control over shadow placement and interaction.
Testing and Iteration
Regularly testing your renders and iterating on your settings are crucial steps in mastering contact shadows:
Regular Test Renders
Conduct frequent test renders to identify issues and make incremental adjustments for optimal results.
Material Considerations
Material properties play a role in how shadows interact with surfaces. Tweaking material settings can enhance the accuracy of contact shadows and improve scene realism.
Feedback Loop and Fine-Tuning
Seek feedback from peers or online communities to gain fresh perspectives and insights, enabling you to fine-tune your approach.
Case Studies
Let’s explore two real-world case studies where effective contact shadow management played a pivotal role:
Interior Design Visualization
Discover how proper contact shadow handling elevated the realism of an interior design visualization project.
Architectural Exterior Rendering
Explore the challenges in architectural exterior rendering and how contact shadow solutions enhanced the final result.
Conclusion
Contact shadow problems can be a stumbling block in achieving lifelike 3D renders. However, armed with a thorough understanding of Eevee’s talents and the tactics explained in this article, you’ll be better prepared to confront these challenges head-on.
You may improve the realism of your renderings and create aesthetically attractive scenarios by optimizing settings, tweaking lighting, and fine-tuning materials.
FAQs
1. Q: Can I use these techniques in other rendering engines?
Yes, while the article focuses on Eevee, many of the principles can also be applied to other rendering engines.
2. Q: Are there any specific Blender versions these techniques apply to?
The techniques discussed apply to recent versions of Blender that support the Eevee rendering engine.
3. Q: How long does it take to see improvements in my renders?
The timeline for seeing improvements depends on your familiarity with the software and the complexity of the scene.
4. Q: Are there any drawbacks to using bias adjustments?
While bias adjustments can improve contact shadows, excessive tweaking can lead to other rendering artifacts.